
Editing
Companion articles to our YouTube Series Pull My Focus.

Over time you collect thousands of assets: hero shots, b-roll, stills, graphics, audio and stock footage. Searching through them can be a real time suck. Kyno media management software to the rescue. After producing over 122 Pull My Focus videos, we have many digital media assets. With Kyno's Flat View Hierarchy we can see, sort, and filter our assets visually. We were so blown away by how amazing it was we bought it before the trial period was over.
Do you want to try out video editing but the cost of the software turns you away? We use Adobe Premiere Pro for editing here but if the price is an issue for you, we rate video editing software, free and mostly free versions. We look at Open Shot, Shotcut, Olive, VideoPad, Hitfilm Express, Adobe Premiere Rush, and DiVinci Resolve. Then we rate how good they are for experienced and inexperienced editors.
It's important to keep all phases of video and film-making problem-free, but nowhere is it more important than during the video post production process. Manu discusses topics such as how to stay organized, communication and feedback, collaboration tools, and the importance of plug-ins.

Do you perform your color correction and grading by moving sliders around? Are you confused by what the actual differences are between color correcting and color grading? Welcome to color correction made easy step by step part 2. Manu shows you how to color grade your footage using Curves, LUTs, and other color grading tools in Adobe Premiere Pro.
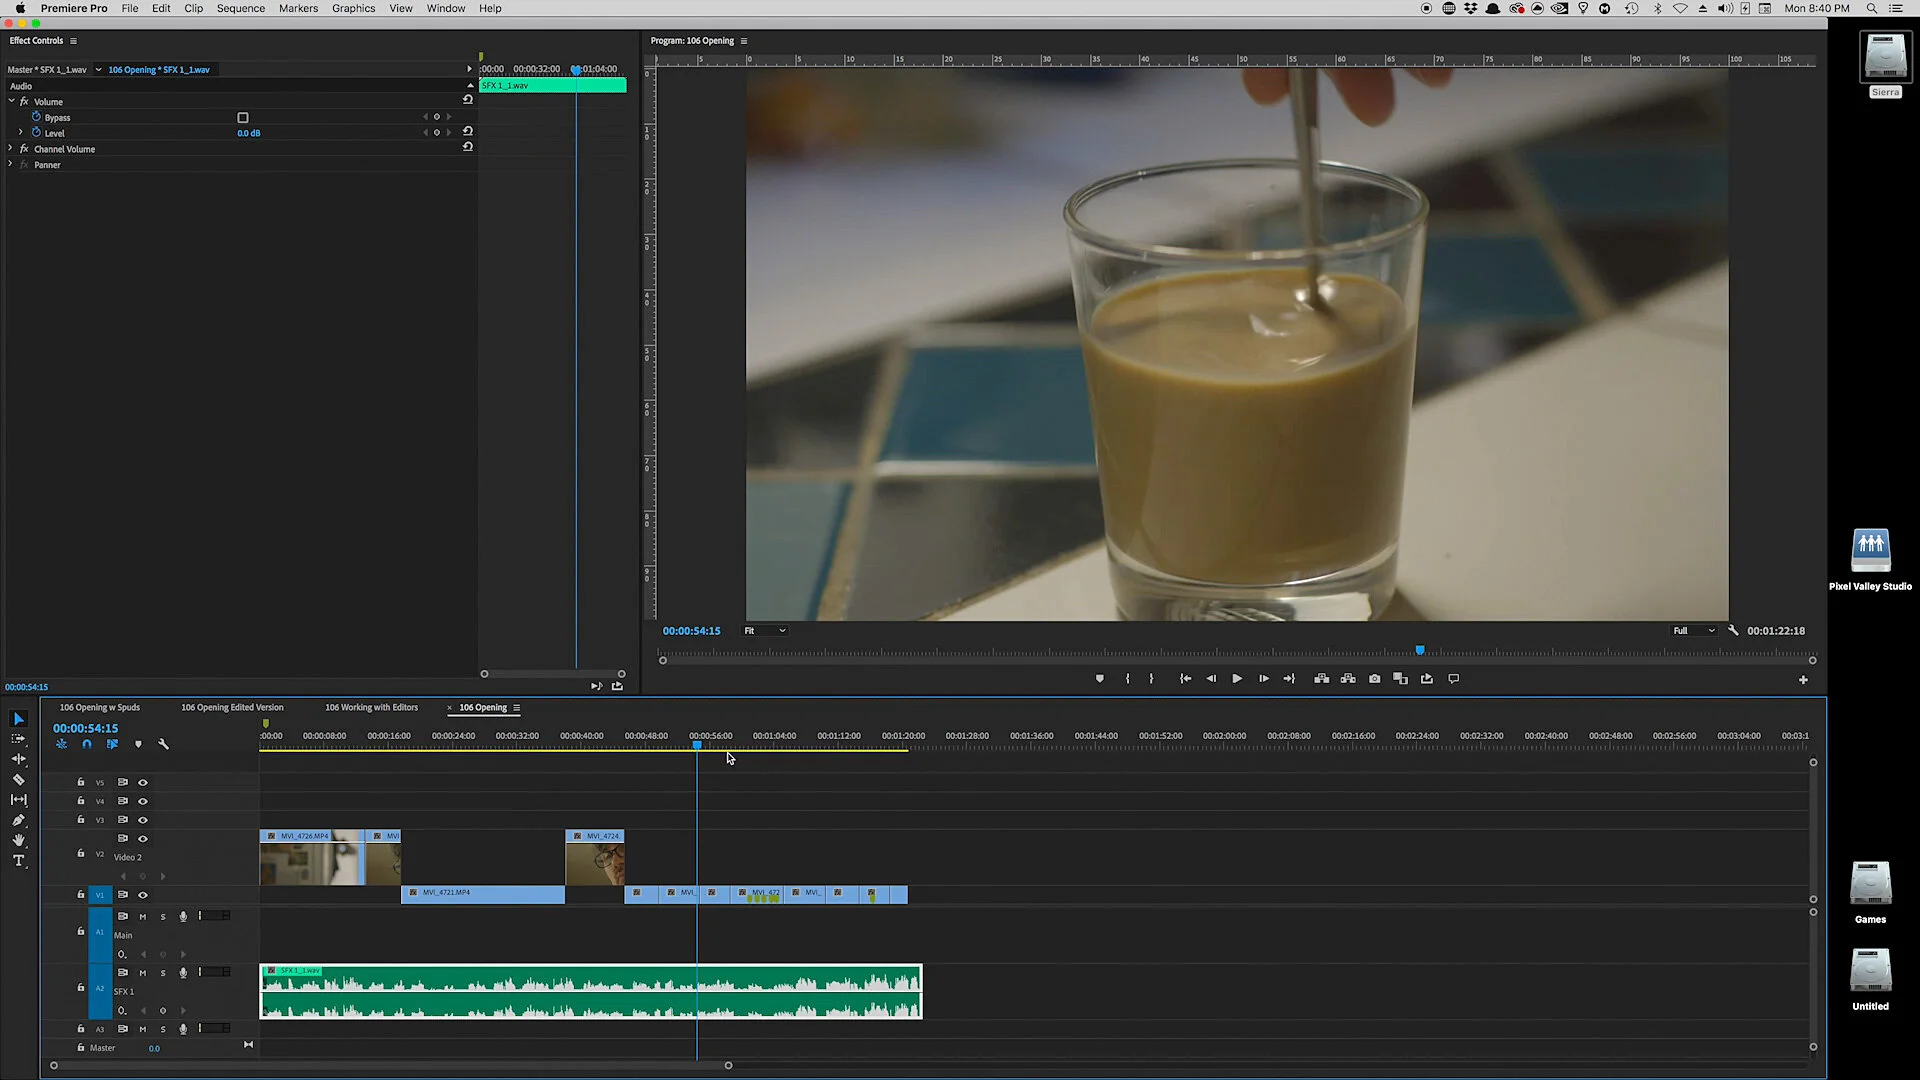
Maybe you've gotten really busy with video work or you want to bring your videos to another level. At this point, the idea of working with an editor on your video projects looks great. But how do you communicate to them what you want? Sure you have a script but there's so much more involved. The Assembly edit to the rescue.
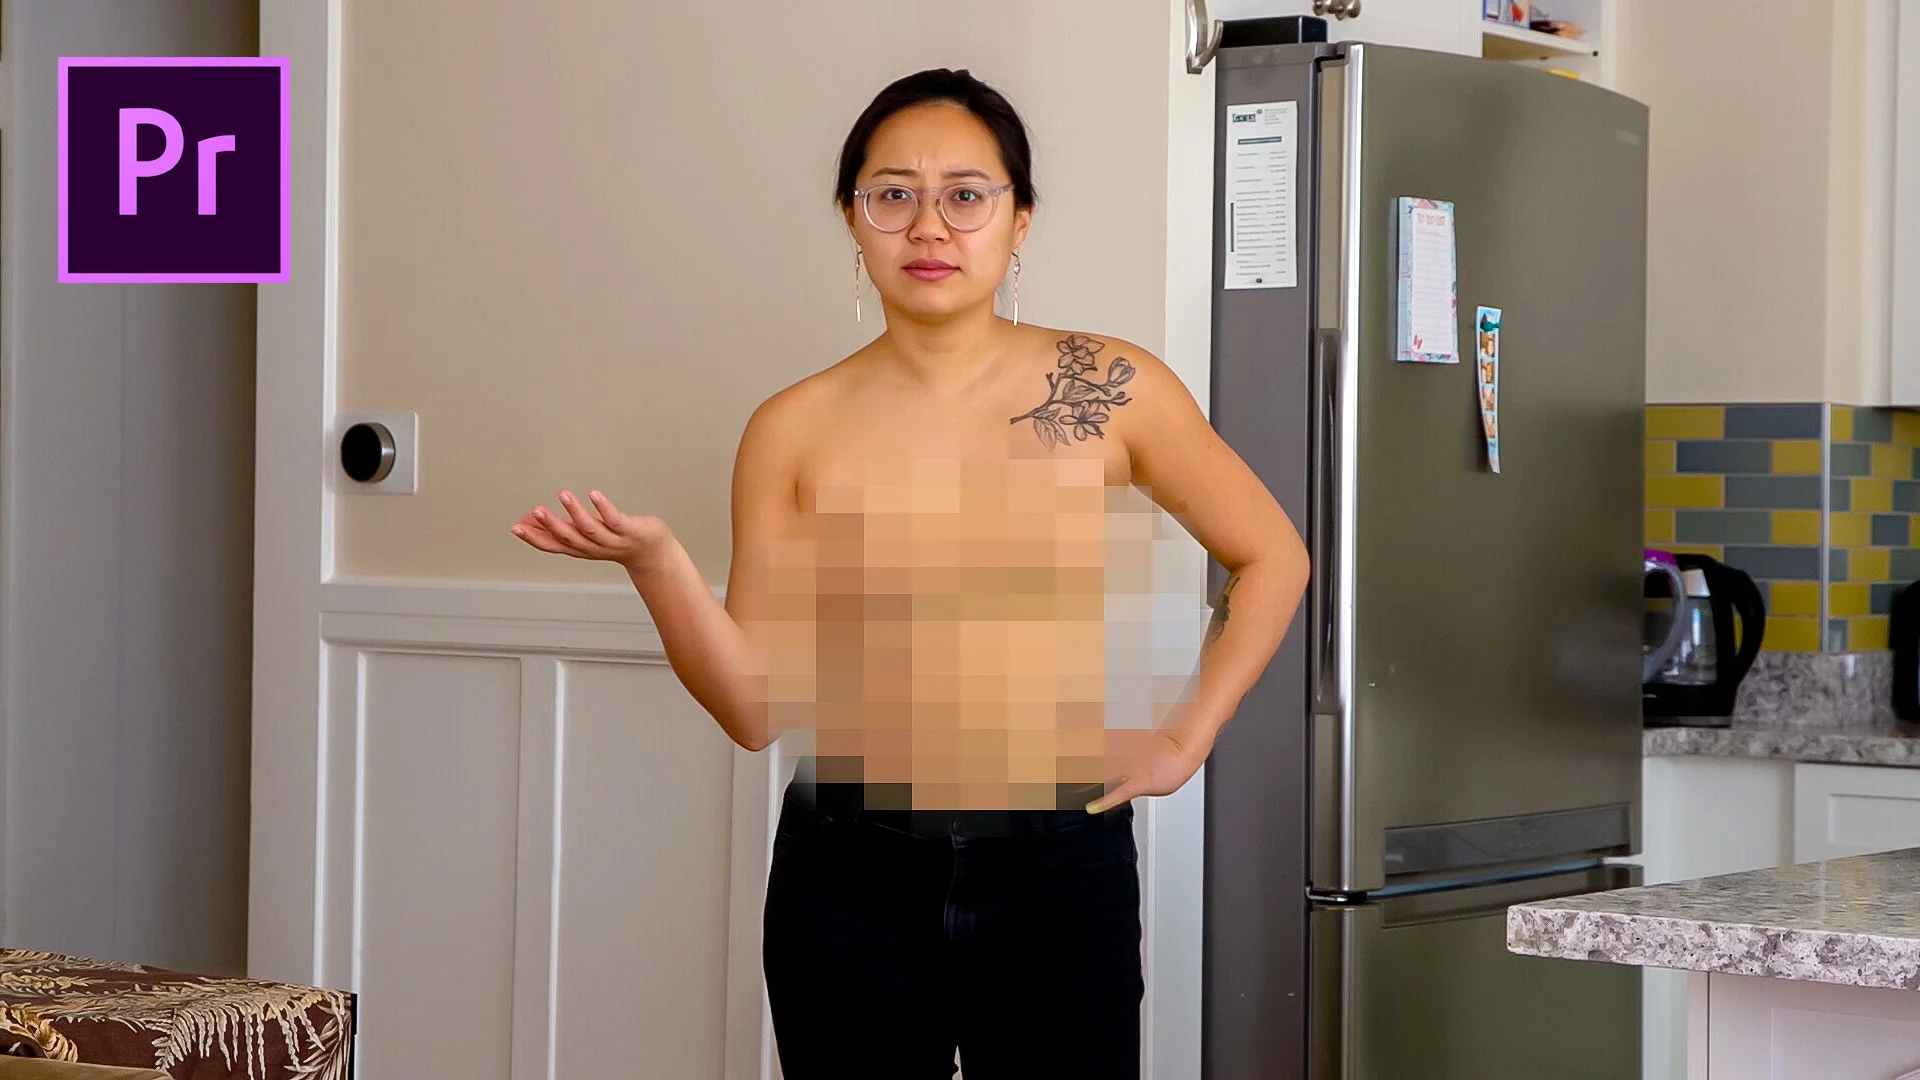
You want to blur faces in a video using Adobe Premiere Pro but how do you track the person if they're moving? Manu shows you how to create and adjust a mosaic to blur out a person or an object's identity and how to let Premiere easily track their movement for you (no key-framing!). He also covers how to create the time-honored black Charlie bar.

Manu shows you how to spice up your videos with some tips that are pure gold, using footage from his sunny, hot vacation with the family at Disney World. 3 tips on how to spice up a slide show, where to find simple and free transitions, using footage to tell a story, and more.

In post-production, the editing timeline is where the magic happens. But all those layered clips, effects, and transitions can get out of control and cause unforeseen problems. In Premiere Pro, nesting sequences save the day.
Manu covers nesting tip and tricks such as adding effects to multiple clips, using warp and speed, and when to use nest or a subsequence.

Take a tour of the PVS Editing office and learn how Pull My Focus gets the job done. Manu takes you through a tour of his setup, shows off his Mackie cr3’s, Q-NAP Nas setup, his wonderful 72” Updesk, why he has three UPS (uninterruptable power supplies) and his wonderful Dell and Asus HD monitors.

Cuts and transitions in editing are powerful but it’s easy to forget their importance when we focus on so many aspects of production: cameras, lighting, locations, sound and so on. So we decided to have a little fun and edit a scene three completely different ways, the Jane and Julie scene from our Shot Lists video.

Always wanted to create animation but don’t have a 3D studio with a motion capture stage? If you have a room with an HTC Vive VR setup now you do. Spuds show’s off the Steam game Mindshow that’s designed to be a virtual 3D studio. He talks about our past as machinima pioneers the ILL Clan 20 years ago, shows how easy it is to create animation in virtual reality with Mindshow and talks to another version of himself. The man loves to composite, what can I say.

This week Spud shows you how to read and adjust white balance and skin tone in Adobe Premiere, what neutral cards to use on your slate, and why adjusting by eye may not be such a good idea.

Color balancing and correcting all start from correct white balance but where do you start if you have actors of various races and skin tones? If you understand how to read the skin tone line on the vectorscope, it can make all the difference.

If you’ve dabbled with editing and Premiere Pro, you’ve seen its levels of complexity. Spuds delves into one layer to help beginning editors work faster and easier. He gives tips on monitors, templates and Premiere Pro timeline tips.

What’s the difference between reverb and echo? How do you minimize reverb in a small room without covering every inch of the walls with acoustic foam? What is good acoustic foam? Spuds covers all this and more as he shows how he strategically set up acoustic foam panels on his walls to minimize reverb when he records sound and when he edits audio.

Spuds gets tied up explaining how we made the Hackintosh video collaborating on WriterDuet, using more than one microphone input into the two-input Zoom H5, and without renting a white cyc studio.

We’re so used to digital post effects and CGI that we forget that in camera effects were the defacto SFX technique back in the day, and are still used today. Spuds creates both in camera and post effects with the help of Micah and looks at the history and use of a time-honored technique: from Pepper’s ghost to a recent episode of “Sherlock.”

Spuds explores the different types of editing computers and gives advice on how to decide which is best for your needs. Do you need a fast editing machine but like the Mac OS? He also highlights the pro's and con's he discovered when he built his own Hackintosh, a PC/Mac hybrid.

Ask any video editor what the most used transition effect in their arsenal of effects is and she'll usually say the dissolve. Besides a direct cut, the dissolve is a staple in the book of film and video editing. How did editors perform a dissolve, or what is also called a "cross fade" before digital editing was available?

When you’re in the business of creating video productions, you will quickly notice that it doesn’t take long for digital assets to get out of hand. It only took me two or three projects before I realized that I needed to develop a system so I could manage the sheer amount of files I had to keep track of with every project.

There are times when you need a gorgeous shot of a landmark location. Or a dynamic shot of a jet plane on the runway. Or maybe a high tech office location shot. You can rent tons of lenses, lights and airline tickets and go shoot it yourself, or you can turn to stock footage. But how do we make stock footage look exciting?

We explain how a simple equipment test was converted to a small humorous sketch. Included are some equipment and workflow tips that may help you enhance your video projects.
Topaz Video AI by Topaz Labs has reached version 4! This amazing video application can not only enhance existing video, but it can also give you better slow-motion, stabilize shots without a gimbal and make old DSLR HD video look great! See how it handles our 1990's video from a 1990's Hi-8 camera...just like back in the 1990's!!