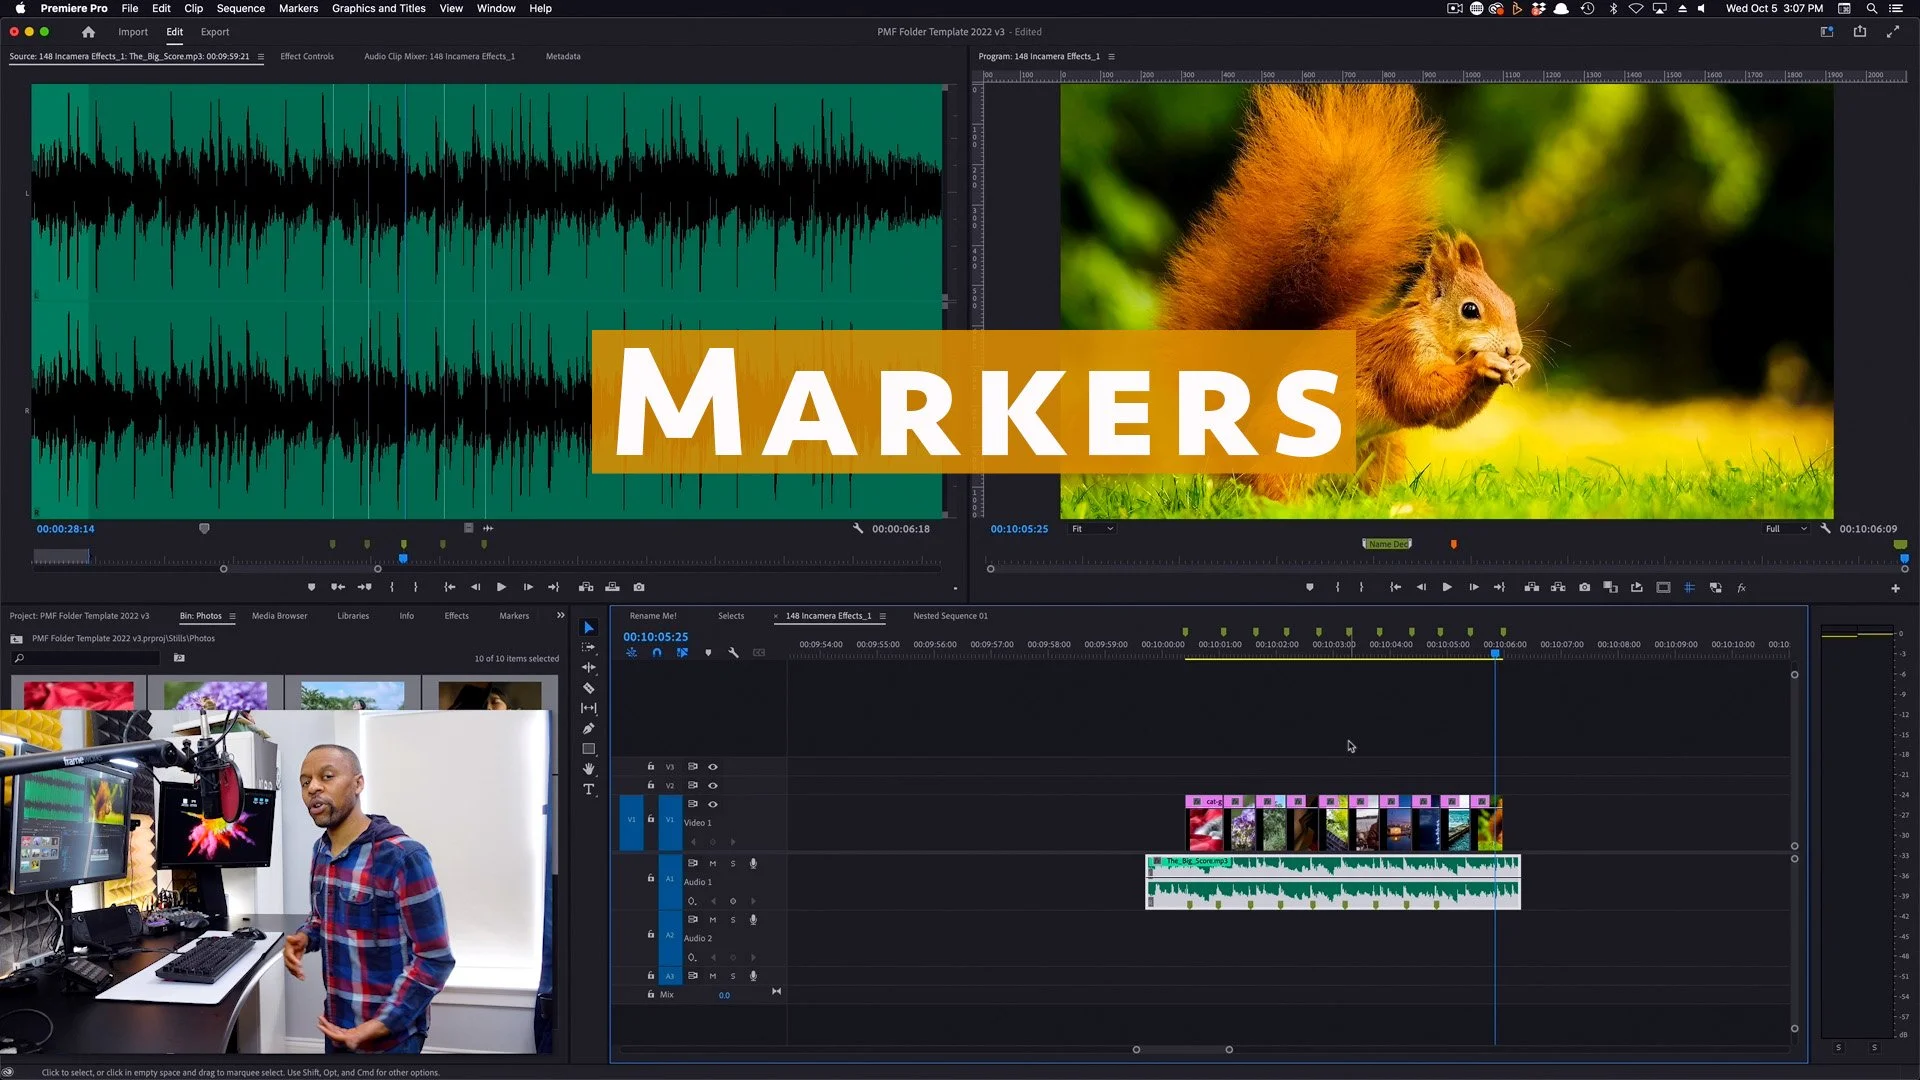
Ever been confused by markers on your timeline and sequence or wondered how best to use them? In this Premiere Pro markers tutorial, we'll tell you how to make sense of the different markers and their placement along with some excellent use cases like editing to the beat and animating to a sequence.
This video explains:
Video
Source vs. Program vs. Timeline marker placement
The Markers Panel Window -> Markers
Types of Markers:
Comment: Basic Marker where you can include a comment in Premiere or Frame.io
Chapter: A Chapter marker. Link to https://www.youtube.com/watch?v=VFto_j157os
Segmentation: A marker range
Moving Markers:
Source Monitor
Program Monitor
Timeline -> Click and drag to move Program Markers (NOT clip markers)
Deleting Markers:
Source monitor -> Right click and go to Clear Selected Marker or Double click and hit delete
Program Monitor -> Same as Source
Right Click timeline in either and use Clean All Markers to remove all of them
Marker Colors:
Changing marker colors from the Marker Dialogue
Filtering based on color is cool
Audio Markers
Press M on the beat to mark a location in the audio
Timing for sound effects
Slideshows & Markers
You can use Program Markers to drag clips to the timeline
Using Markers in Frame.io
You can export comments and segments into Frame.io


