

DJI Osmo Mobile 3
We’ve been doing a bit of coverage of products by DJI lately. Check out our show on the Ronin line of gimbals, specifically the Ronin-MX that we used to shoot our “How to Compliment A Lady” sketch. Motorized Gimbals are amazing for giving you that super smooth, moving shot that you want to enhance your story.
But what if you don’t have a butt-load of money to spend on one? You can still wield the power of super smooth gimbal shots but for less than the price of renting one. We got our hands on the baby sister of the larger DJI gimbals in the form of the DJI Osmo Mobile 3. We got to play with this puppy for the last 3 weeks and DAMN!
Basic or Combo Kit
FIrst, out of the box, this thing is sweet. We bought the basic kit which contains the Mobile 3, a carry case and that’s it. DJI also sells the Osmo Mobile 3 Combo kit that includes a carry case and the Osmo Grip Tripod, which lets you set it upright on a table. You can get the basic kit for $20 less with no tripod, but we think you really want that tripod and suggest you get the Combo pack. Or you can save $10 and buy a really solid tripod like this for $9 which works great, but doesn’t look as bling. It all depends on if you like to match your t-shirt with your undies.
How is this so inexpensive? Because the Mobile 3 uses your phone as the video recording device, the same as you would use a DSLR or pro-camera with the Ronin lines. You can use the basic camera app in your phone or you can download the DJI Mimo app for more enhanced features, but we will get to the app options in a moment.
Compact and Cool

So this thing is compact. Like super compact. It folds down into this awesome form factor making it half the size so it will fit in your bag. Hell, it can almost fit in your pocket. The tripod is easily removed and you end up with a tiny gimbal that is easy to travel with.
The Mobile 3 packs an amazing battery that will keep it running for up to 15 hours, so they say. I haven’t been able to run this damn thing down and I am using it a bunch. It can be charged via the USB C port in the base. It also has a USB type 2 charging port so you can actively charge your phone while you use it. Although I haven’t used this function directly as I don’t have a USB cable that won’t weigh down the side of the phone, but I’m sure I can find one.
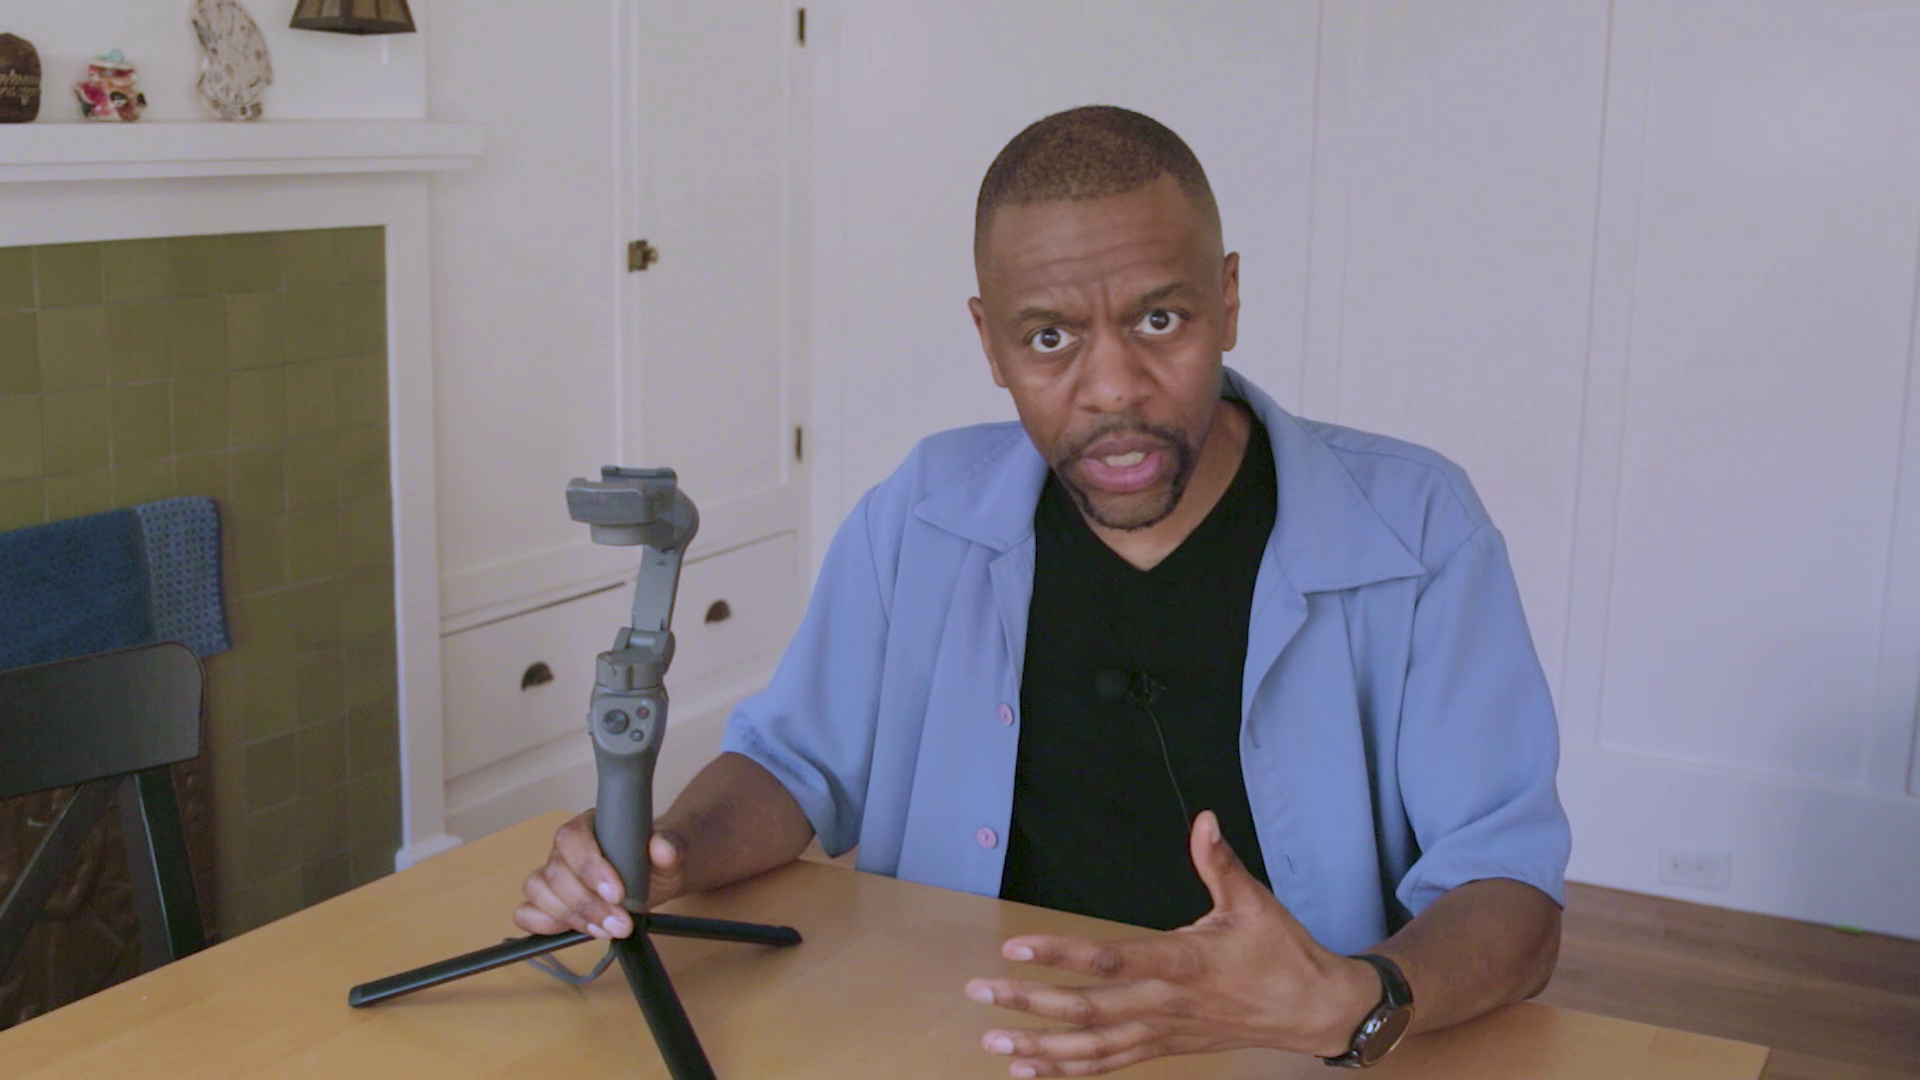
An interesting feature is its focus on ergonomics. Notice how it fits in the palm of your hand at a slight angle. The human hand isn’t necessarily suited for holding something at a 90 degree angle for extended periods, so this slight forward angle grip make is super comfortable to hold for long shots.

Slight angle makes longer shots less painful
Set Up
The phone I am using is my Samsung Galaxy Note 9. I love this phone, but it is one of the larger phones out there. It does have one problem in that it has this annoying “Bixby” button that no one on the planet uses and there is no way to turn it’s function off. When I mount it on the Mobile 3, it’s usually clamping down on that damn button. But here’s what I did. I don’t like to travel with no case on my phone, like ever. So I purchased a second case on Amazon for like $12. It has these offset buttons on the side. So on my second case, I simply cut out the “Bixby” button. Voila! Now I’m good. This might be something that you want to consider doing if you have similar issues with your phone.
Let’s unfold the gimbal and set it up on its tripod. Once again, it’s easier if you have the Osmo Mobile Tripod from the Combo kit, or purchase a third party one like we did..
Balancing this puppy is very simple. FIrst, Pull the Mobile 3 from its fetal position and pop the clamp into vertical position. Then insert your phone, making sure the camera is on the left or away form the base.

Make sure to line up the dashes before balancing the phone
Now hold the gimbal arm so that it’s still and fix the tilt so the phone is mostly balanced. If I am going to plug anything into the phone like my external mic or the USB charging cable, I’m going to do that now.
Then adjust the roll by turning the phone to a portrait position and moving the slider left or right until the gimbal is mostly balanced in that position also.
Press the power button for a few seconds and the unit powers up, ready for action.
Native Osmo Mobile 3 button functions
There are a few functions built into the Osmo Mobile 3 that you can use no matter if your camera app supports the unit or not. These include:
Double tap the M button to toggle between portrait and landscape modes.
Triple tap the M button to toggle the motor on/off.
Double tap the trigger to recenter the gimbal.
Hold the trigger to lock the phone’s TILT, PAN and ROLL.
Use the joystick to ROLL and PAN the shot.
Buttons with the DJI Mimo App
If you want more functions, then you can use DJI’s Mimo App, available for iPhone or Android.
The app adds a few more features to the hardware including:
Single click the M to toggle Photo/Video modes.
Single click the trigger to toggle Active Track
Triple click the trigger to swap from front to back facing camera.
Press the shutter button to start/stop recording or take a photo.
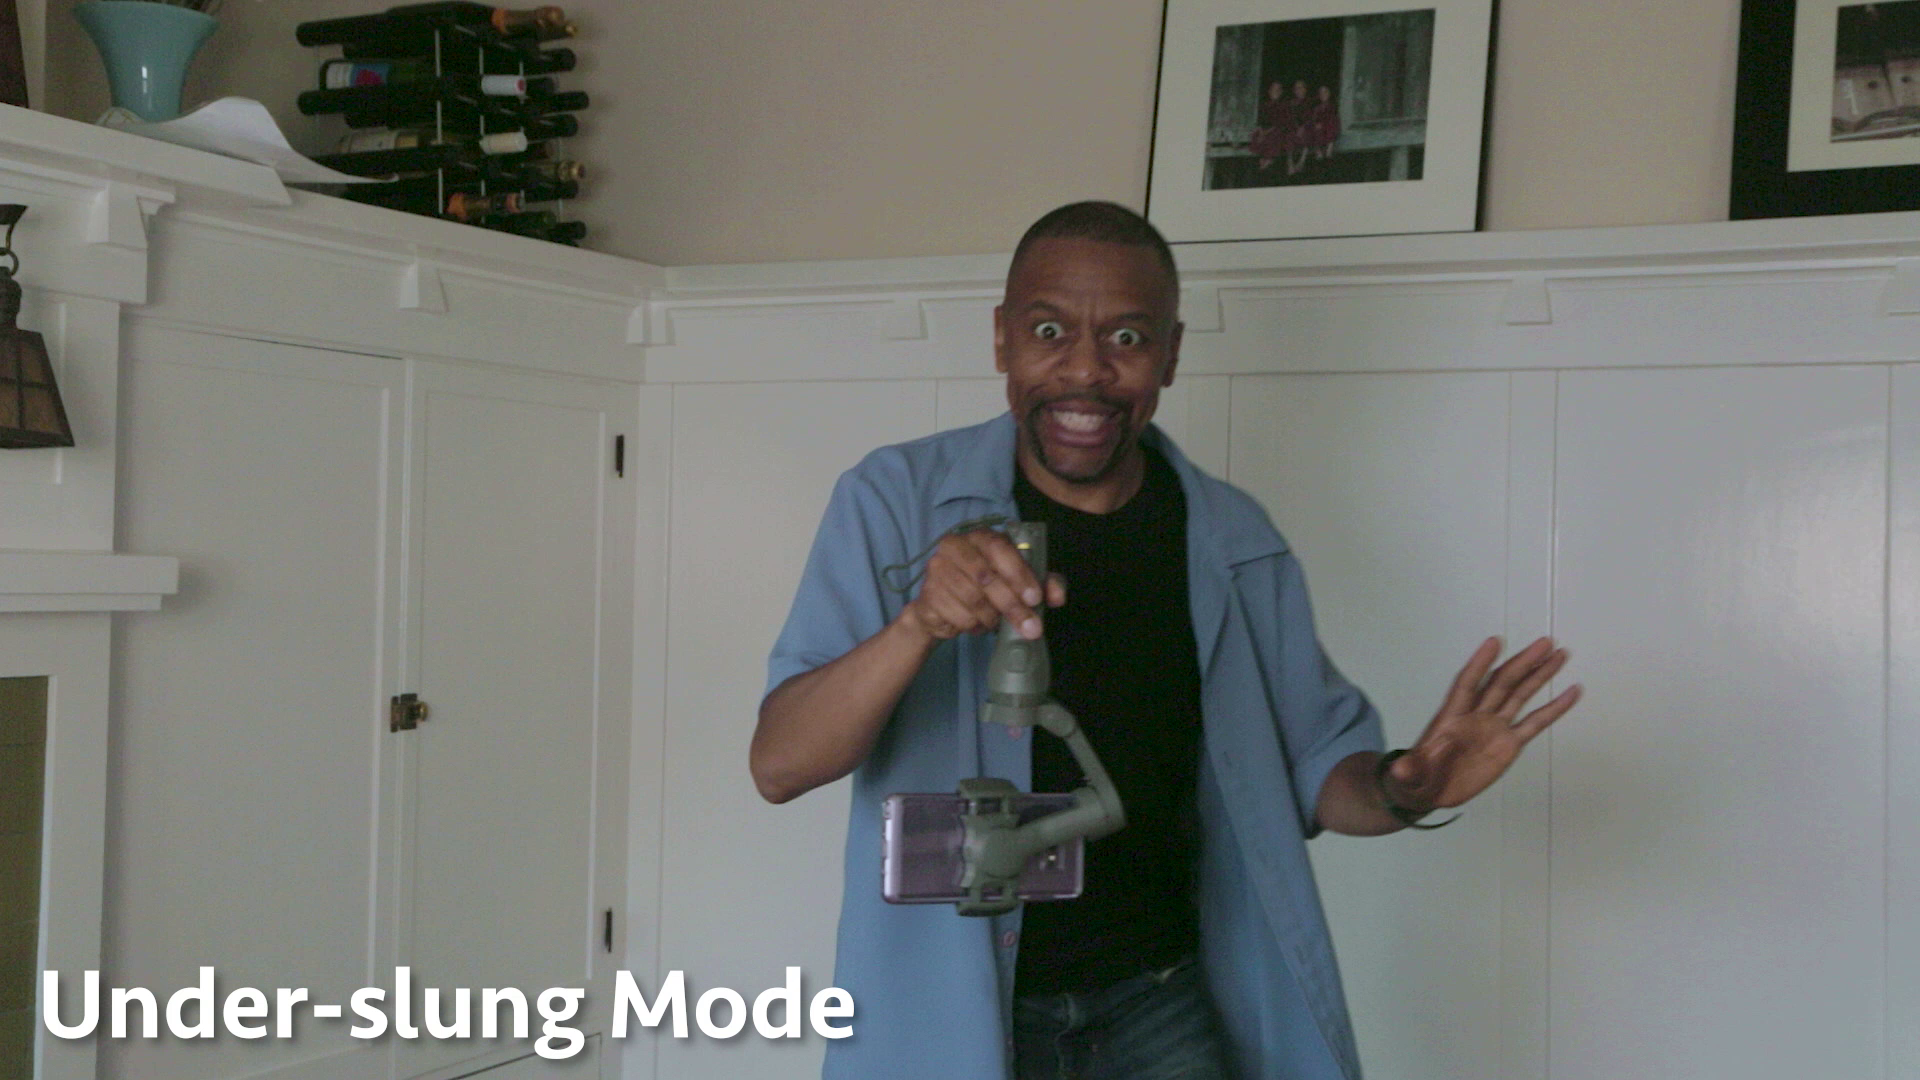
It also supports 3 grip modes. Naturally, there is upright mode. It can also perform in Side grip mode as well as under-slung mode. Simply hold the Mobile 3 in the position you want and the motor will snap to position.


Using the Mobile 3 with other video apps

Filmic Pro App
So I’ve been playing with this for a while and the DJI Mimo app is pretty cool, but I wanted more control over the video I shoot. So I downloaded FilmicPro. This app allows me to get at the features that I am used to if I were using a DSLR or better. While I won’t go too deep into it, since it’s probably better suited for its own video, FilmicPro gives me enhanced settings for white balance and color temperature, ISO settings, Focus, audio monitoring and a bunch of other things not found in the DJI Mimo app. Plus, with the purchase of an additional add-on, I have access to FilmicPro’s Log profile, so I can shoot with a wide dynamic range and have more control over color in post. Unfortunately, as of this recording, FilmicPro does not have native support the DJI Osmo Mobile 3. I’m hoping they add it to their growing list of supported hardware. Link in the description if you are interested.
Final thoughts

I am thrilled with the DJI Osmo Mobile 3. It is compact, easy to use, has massive battery life and it just works. Paired up with a good phone and you are on your way to some amazing smooth video. Other features that I haven’t mentioned are the DJI Mimo app’s story mode and active track, where the gimbal will follow a face around the scene, are also available. And for the price of less than $150, you really can’t go wrong giving it a try. I plan to use it for future Pull My Focus episodes as well as vacations with my family. Since I already have my phone, the super compact Osmo Mobile 3 will fit perfectly.
If you enjoy Pull My Focus, please consider supporting us on Patreon at https://www.patreon.com/pullmyfocus
Our Amazon Affiliate Store
https://www.amazon.com/shop/pullmyfocus
Affiliate Links:
PoP voice Professional Lavalier Lapel Microphone
Zeadio Metal Mini Tripod